Advertisement
Headstands For Beginners: How To, Modifications & Benefits

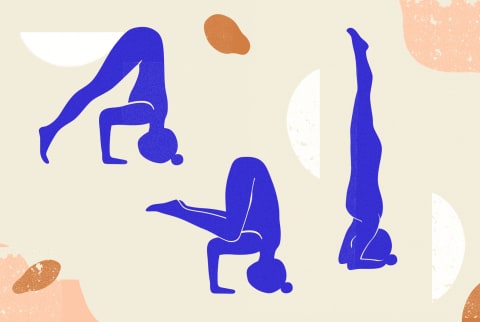
Scroll through photos and videos of headstands, and when done right, this yoga inversion can look effortless. The truth? You need a certain level of body awareness and strength—plus patience and lots of practice—to master this pose.
Here, with the help of two certified yoga instructors, we explain how to do a headstand safely and correctly, the risks of headstands (including who shouldn't attempt them), and benefits you may get from incorporating this pose into your practice.
How to do a headstand.
Headstands are not something you want to rush into, and you need a certain level of strength and skill to perform one without hurting yourself. We're going to talk about that—and give modifications in a minute—but first, here's how to do the full-on posture, according to Erika Trice, E-RYT 500, registered yoga teacher and teacher trainer at Yoga Works.
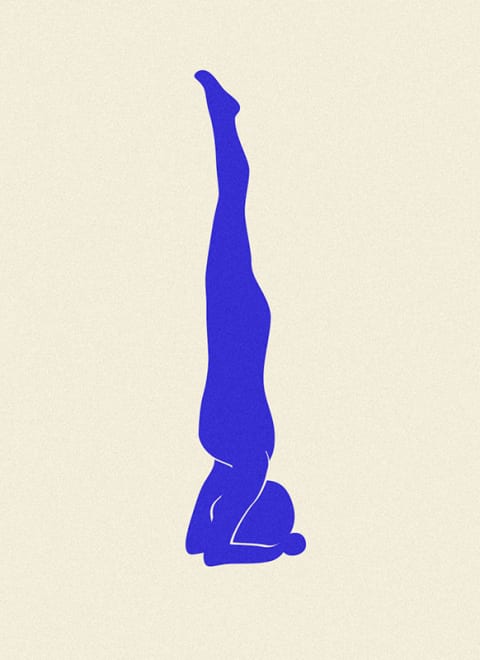
- Place your yoga mat alongside a wall. If you have a thin mat, fold it over for more cushioning.
- Get onto all fours and face the wall.
- Come down onto your forearms and interlace your fingers all the way up to the webbing. Your knuckles should be about a half-inch from the wall; your elbows should be no wider than your shoulders.
- Place the crown of your head on the ground, and cup your hands around the back of your head.
- Tuck your toes and lift your knees off the ground so that your pelvis is elevated and legs are as straight as possible (slight bend in the knees is OK).
- Walk your feet in until your shoulders are directly over the elbows. Then, lift your shoulders away from the floor and create length in your neck.
- Walk your feet in a bit farther until your shoulders are slightly beyond your elbows.
- Without moving your head, bend one knee and engage your abs to pull it into your chest so that your heel goes to your sitz bones. Repeat with the other knee. Point your feet, and rest your pelvis against the wall.
- From here, slowly extend one leg up to the wall. Repeat with other leg. Your heels are on the wall, feet are flexed.
- If you feel stable, pull your heels and hips away from the wall.
- Hold this position for 5 breaths.
- Then, reverse the move by bending your knees and curling them back into your chest one at a time. Rest in child's pose.
As you become stronger in your headstands, you can move several inches from the wall, and then eventually, try them without a wall at all (though definitely don't rush this step and try it first with a teacher's supervision, if possible).
In terms of when to do a headstand, Laura Kasperzak, E-RYT 200, registered yoga teacher and CrossFit Level 1 Trainer, suggests that if you're still learning the move, incorporating it halfway through your yoga practice is a good idea. Why halfway? You'll likely be properly warmed up but not yet too tired. And speaking of warm-up, focus on opening up the shoulders, hamstrings, and upper back and activating your core, says Trice.
Headstands are also great for people who want to take the next step in their yoga practice. You might want to attempt this inversion "If you feel like you've got all the basics down and you're plateauing in your practice and not feeling like you're challenged, and you're ready to take the next step," says yoga instructor Caley Alyssa in our Yoga Inversions 101 class.
Tips and warnings.
Headstand aren't for everyone. Inversion moves, including headstands and shoulder stands, are "often regarded as a special category of yoga postures that should be practiced only by experienced practitioners, with extreme care," wrote the authors1 of Adverse Events Associated With Yoga: A Systematic Review of Published Case Reports and Case Series published in peer-reviewed journal PLOS in 2013.
There are some people who should avoid headstands altogether, including folks with neck, spine, or shoulder issues; hypertension; glaucoma; and heart issues, "just to name a few," says Kasperzak. Pregnant folks should also not attempt the posture, adds Trice. If you have a medical condition or are otherwise unsure whether headstands (or inversion work in general) are right for you, ask your doctor before adding them to your practice.
If you are cleared to do headstands, make sure your shoulders are lifted away from the floor, and allow your cervical spine to maintain its natural curvature. This can help you reduce your risk of cervical spine injury, says Trice.
Alyssa also offers a pro tip in order to find where you should place your head on the mat (note: It can be different for everyone!): "A good measurement for where you want to be on the crown of your head is to make a little 'L' shape with your thumb and forefinger," she says. "Take your thumb to the bridge of our nose, right where it meets your forehead. Wherever your index finger touches the head, that's where you want to be on your skull."
Modifications and variations.
Before attempting a headstand, you should be able to do a downward-facing dog while keeping straight arms and not rounding your upper back, says Trice. You should also be able to do a dolphin pose without placing your head on the ground and hold a plank for a significant amount of time, she adds.
Tripod dolphin (different from the dolphin pose mentioned above) is a beginner-friendly inversion that Kasperzak says most active people will be able to do (though again, if you have any medical concerns, check with your doc first). Here's how to do it:
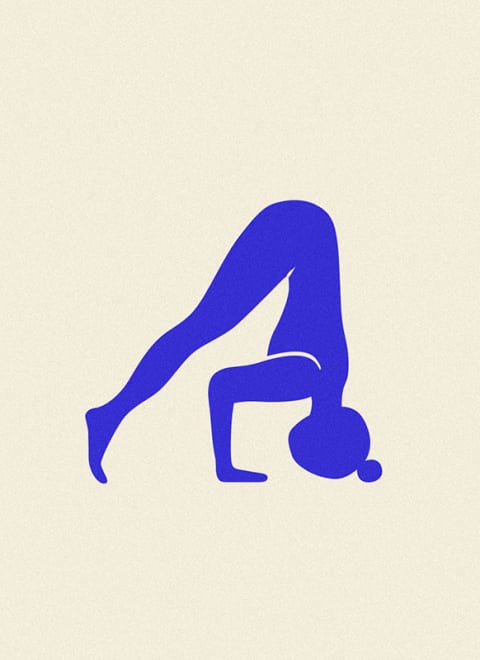
- Get into tabletop position on top of your mat with your hands shoulder-width apart and fingers spread comfortably apart.
- Roll the creases of your elbows toward the top of your mat.
- From here, walk your knees forward so they are directly behind your hands.
- Bending your elbows back, place the crown of your head onto the mat. You should be able to see all 10 fingers and your arms should form 90-degree angles.
- Tuck your toes under and lift your knees off your mat.
- Try to hold for 3 to 5 breaths with the goal of working up to 10 breaths.
Make sure your upper back is not rounded, says Trice. And if the move hurts your head, double up your mat, suggests Kasperzak. Once you are comfortable with tripod dolphin, try bringing one knee to the back of your arm on the same side. Then switch sides and try with the other knee and arm. Once you are comfortable with that, you can move onto tripod egg headstand.
Tripod egg headstand is an intermediate-level inversion that can help you work up to a full headstand. Here's how to do it:
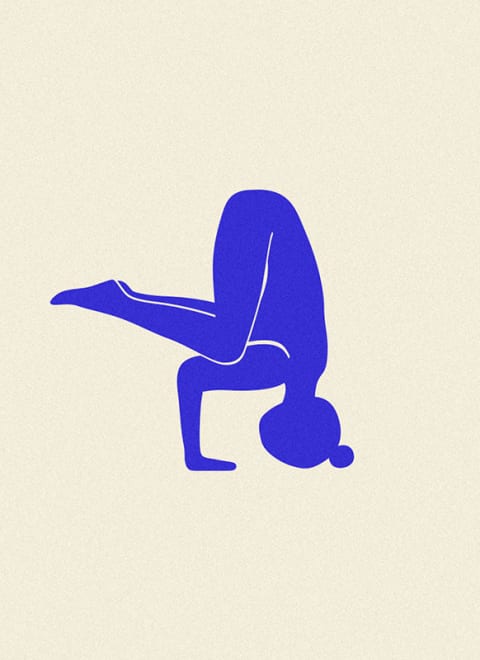
- Get into the tripod dolphin position.
- Walk your feet in toward your hands. Keep your neck lengthened and shoulders away from your ears.
- Bring your right knee onto the back of the right arm. Pressing down into that side, bring the left knee to the back of the left arm.
- Try to hold for 3 to 5 breaths with the goal of working up to 10 breaths.
Tips: Hands should be shoulder-width apart, and your hands and head should form a triangle, not a straight line, says Kasperzak. Also: Don't hug your elbows in; this puts more pressure on the head and neck. Oh, and don't rush the liftoff. Take your time and go slowly, says Kasperzak.
If you feel comfortable with Tripod Egg headstand, you can try lifting your knees off of your arms and raising your legs straight up into a headstand. This would be a slightly different variation of the headstand compared to what's described above.
Benefits of headstands.
There don't seem to be many clinical trials on the benefits of headstands, themselves (there's some anecdotal evidence, which you can find here). But there is some research on inversion traction2, which is essentially a form of therapy that involves suspending the body upside down. One study of 47 women with low-back pain found that inversion traction, when performed at a 60-degree angle, reduced chronic low-back pain while increasing trunk flexibility and back strength.
Headstands, as mentioned, are a type of inversion exercise, so you may be able to gain some of those benefits through the pose. However, headstands weren't the specific exercise used in the inversion traction study described above, so you might not want to conflate the two entirely. Also, as an FYI: Inversion therapy has some of its own risks as well.
So what can we say about headstands specifically? According to Trice, the pose can improve balance and confidence while also strengthening your shoulder girdle muscles, upper back, and core. Headstands can also provide mental benefits for some practitioners. "They can improve your focus and calm your thoughts," explains Kasperzak. After all, "When you are upside down, there's not much else to think about!"
Headstands are an impressive pose that requires patience, diligence, and strength to master. Just keep in mind the risks of headstands, and chat with your doctor first if you have a medical condition.
Short On Time? Try This Personal Trainer's 5-Minute Full-Body Workout
Krista Stryker, NSCA-CPT

Short On Time? Try This Personal Trainer's 5-Minute Full-Body Workout
Krista Stryker, NSCA-CPT

Short On Time? Try This Personal Trainer's 5-Minute Full-Body Workout
Krista Stryker, NSCA-CPT

Short On Time? Try This Personal Trainer's 5-Minute Full-Body Workout
Krista Stryker, NSCA-CPT
