Advertisement
The Genius Technique That'll Make Natural Foundation Look Flawless


When it comes to the realm of natural beauty products, skin care has long outshined makeup and hair care. Only in the last few years have green brands begun to truly get pigment right and for good reason—it's tough to do it well!
We spoke to natural makeup artist Katey Denno about the question almost everyone has when they switch to naturals: how can I get my natural foundation to stay put? As someone who frequently uses natural beauty products on models and celebrities for photoshoots and red carpet events, Denno shared her know-how. "Natural liquid foundations specifically tend to be highly emollient. So if you use a face oil or have oily skin, they're prone to slip and slide off your face," Denno said.
In order to avoid reapplying every few hours, here is Denno's tried-and-true method for perfecting that dewy glow with natural liquid foundations:
1. Make sure you've properly prepped the skin.
Before you start, ensure that the skin is completely clean. Use a toner based on your skin type and scent preferences, and follow that with a face oil. Wait two to three minutes while it sinks in before doing anything else.
2. Then, use a blotting paper.

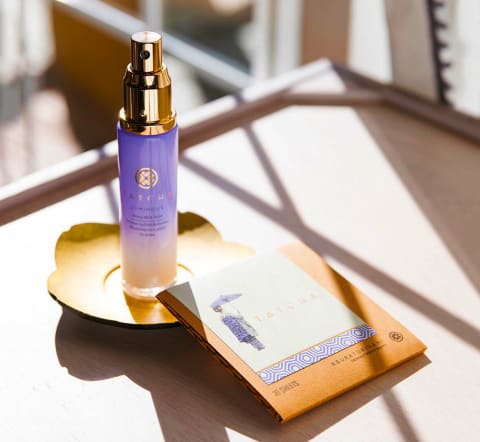
After waiting, use a blotting paper (flashbacks!) and go over your t-zone: the forehead, sides of the nose, and chin. Feel free to hit any other oily spots as well. "You don't need all of that extra oil—just make sure that your skin is hydrated before adding foundation," Denno said. Her favorite blotting papers are Tatcha and Honest Company, but she also mentions that the $3 standard blue ones from any drugstore will do just fine.
3. Apply the foundation and blot again.
Then, go ahead and apply your foundation and blot again. "I like to use a beauty blender sponge and wrap a blotting paper around it to buff, which lets me get into the crevices at the sides of the nose a little bit better," Denno said. "This way, you begin the day with very little excess oil on your face, keeping just the pigment that comes with it."
When it comes to product, Denno likes Vapour Organic Beauty's liquid foundation, Juice Beauty's serum foundation, Gressa's corrective serum foundation, and Kjaer Weis crème foundation.
4. Finish with powder, but only if needed.
"Too much powder can ruin the look," Denno said, so use it sparingly. If you still feel that you need something else, or simply want a midday refresh, Denno swears by RMS's tinted unpowder. "It's the best powder I've ever used," she said. It's finely milled, so it disappears into your skin. Use a small brush dust to dust that onto the areas where you get the most oily.
With these three steps (four if you need the last), your natural foundation will look fresh for hours.
To ensure smooth skin while you're washing it, check out this simple cleansing tip.


