Advertisement
How To Make Your Own Beautiful Bouquet (Fresh Or Dried) For Any Occasion

Nothing screams joy like a bouquet of fresh or dried flowers. While buying a premade assortment is always a fail-safe option, arranging your own flower bouquet—be it for a wedding, a gift, or just a kitchen table—tends to be less expensive and loads more fun.
Not sure where to start? We called up Emily Thomason, a florist at Devynn's Garden in California, to put together this guide to the basics of bouquet making.
Before we kick things off, remember the golden rule of arranging: Have fun and don't overthink it. "No matter what, it's going to be beautiful because what you're working with is beautiful," Thomason says. With that pressure off, let's get started:
Step 1: Choose your flowers.
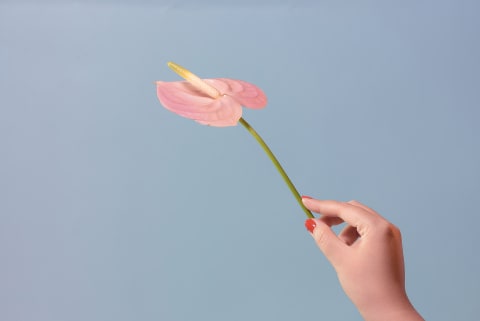
First, you'll need to pick your flowers. Go to the shop with a vase or vessel in mind, so you'll know around how much you'll need to get to fill it.
Buying from florists tends to be a better bet than from a grocery store, as their flowers are usually fresher and will last longer.
To stay on track and on budget in the store, look for these categories for your bouquet:
- Greens (eucalyptus, lemon leaf, olive branch): Greens can form the base of your arrangement and set the stage for your more dramatic, expensive flowers to really shine. "You'd need a lot of flowers to fill out a nice arrangement," says Thomason. "Greens really help fill it out so you can put the flowers where you think they look nice rather than just filling space."
- Statement flowers (roses, lilies, orchids): These are the flowers that really catch your eye, and they can form the focal point of your bouquet. The nice thing about arranging with greens and fillers is that you can get away with buying only a few of these premium flowers, which tend to be more expensive.
- Filler flowers (chrysanthemums, daisies, sunflowers, carnations): These more affordable blooms can help you build out the rest of your bouquet without breaking the bank. Thomason says you don't need to worry about choosing ones that "go with" your statement flowers. "All flowers go together," she says. Let your intuition lead you to ones that you think look nice together or think your recipient will enjoy.
- Line flowers (snapdragon, bells of Ireland): Though optional, these tall stems will help give some more height to your bouquet.
If you want to build a bouquet that will last, you can follow the same general protocol when shopping for dried flowers. Thomason says that fluffy stems like pampas grass can stand in for your greens. Large, dried leaves like spear palms can act as fillers and add some height to your arrangement.
Step 2: Gather your supplies.
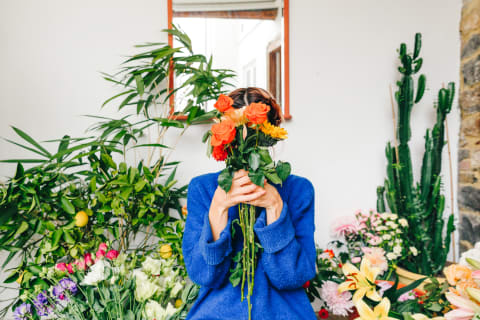
Fresh bouquet:
- Flowers, separated into individual stems
- Scissors
- Water
- A clean vase
- Bowl tape (optional)
- Floral foam (optional)
Once you get home, separate your flowers into individual stems you can place in your vase one by one.
Clear off any leaves that will be sitting in water, and give all your stems a quick snip at an angle before laying them on a clean arranging surface. This will free up some surface area for them to drink from and help them last longer.
Those who are working with shallow, wide-mouthed vases can use floral foam or bowl tape to help keep stems secured in place. Both tools can be found in most flower shops and are easy to work with.
If you're using the waterproof bowl tape, make a grid pattern on the mouth of your vase. This will create a little pattern for your flowers to lean on and make arranging much easier and less frustrating. By the time the arrangement is complete, it should be full enough to hide the tape underneath.
The floral foam serves a similar purpose: You cut it to fit your vase, soak it in water, and place your stems into it. "It acts as the water source for the stems and it will help things stay exactly where you want them to be," Thomason says. Dark-colored vases tend to be better for foam, as it will be visible through glass.
Dried bouquet:
- Flowers, separated into individual stems
- Scissors
- A clean vase
- Dry floral foam (optional)
Foam can also be used to keep dry flowers in place—though, of course, this time you won't want to soak it. Again, darker containers are best for concealing foam.
Step 3: Arrange!
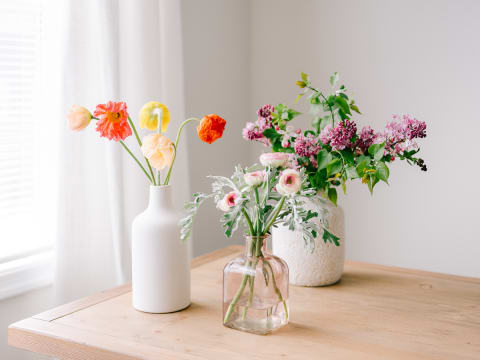
Fresh bouquet:
Now for the fun part. Once you have all your snipped flowers laid out and your foam or tape at the ready if you're using it, you can start putting in your flowers.
Thomason recommends always starting by placing your greens: "That's going to give you a base and help it all stay together and stay up," she says.
With that foundation in place, you can add your line flowers and filler flowers, then your statement blooms. Bouquet arranging is more of an art than a science, so Thomason's advice here is just to learn as you go and get to know your arrangement.
Eyeball what colors and textures you think look nice together, and cut some stems shorter and keep others long for a more layered look. Remember: You really can't go wrong with such stunning materials, so just have fun with it.
If you have an idea where your finished bouquet will go, that can help shape your arrangement too.
If you think it will be placed against a wall, for example, you can get away with only arranging half of the bouquet. "In that case, you'd want to put greens standing up on one side and acting as an anchor for the back," Thomason says. "You can make the front really shine because that's the moment you really need to focus on."
If your arrangement is likely going on a table or counter, spin it as you go to make sure you're seeing it from all sides and angles.
Dried bouquet:
Again, the same general rules apply for dried bouquets: Place those pampas grasses or greens first before adding your statement pieces. Pampas grasses tend to come in large stems, but Thomason adds that you can cut the stem where it forms a cluster to eke a few smaller pieces out of your bundle.
The key with dried flowers is to use an extremely light touch: These babies are fragile! Some of your flowers will inevitably fall off during the arrangement process, but being gentle can help keep more of them intact.
Step 4: Make it last.
Once your bouquet is complete, all that's left is to display it! You can get the most life out of your new, fresh bouquet by giving it clean water every couple of days (always water as close to your vase as possible, never from above as it can harm the flowers), feeding it proper plant food, and placing it away from any potential irritants.
The bottom line.
There's really no way to go wrong with flower arranging, but following a few florist-approved best practices can take your dried or fresh bouquet from great to downright glorious.
